Real estate photography can be quite gear-intensive, especially compared to some other photographic genres. Finding the best camera equipment for your real estate workflow can make the difference between delivering great quality images to your clients, and having to spend a lot of extra time on post-processing. In this guide, I’ll break down the gear I’ve found works best for residential and commercial real estate photography.
Table of Contents
Gear
Camera
Typical real estate shoots don’t require a ton of resolution – in fact, most basic uses like social media, flyers, and MLS listings only require a few megapixels worth of resolution. This makes most cameras a viable option. However, beyond straight megapixels, a newer, full-frame camera offers a number of benefits to real estate uses.
A newer camera will typically have a sensor with better dynamic range performance. This can make it easier to recover the highlights from overexposed windows, without having to resort to HDR bracketing or blending flash exposures. While you can check the statistics on sensor performance, as a rule of thumb, most cameras released within the past 5 years should have competent dynamic range performance.

Additionally, I’d suggest a full-frame camera for the availability of very wide lenses. While some APS-C lenses can get to about 15mm equivalent focal lengths, 10mm or even wider options are available for full frame cameras. These ultra-wide lenses aren’t ideal for every shot, as they can lead to significant perspective distortion, but they are a necessary tool for things like compact bathrooms. For more information on using your camera effectively on a real estate shoot, check out our complete list of real estate photography tips.
To that end, if I were rebuying my kit, I’d consider the Nikon Z6, Canon R6, or Sony A7 IV. If you think you’ll have a need for higher resolution down the road, the Z7, R5, and A7R IV – the lower shot volume of a typical real estate shoot means that larger individual files won’t slow down your workflow that much.
Lenses
Wide Zoom
A wide lens is essential to real estate photography. My 14-30mm constitutes about 90% of my photos from each shoot, with a wider lens and a 24-70mm splitting up the remaining portion of the shots. The reason behind this is simple: 14mm is more than wide enough for most basic interior shots, while being able to zoom to 30mm helps capture smaller details, or retain the sense of size in a room.
While I particularly like the range offered by the 14-30mm, most brands offer a 16-35mm option, and this can work just fine. Those 2mm on the wide end aren’t necessary. Additionally, while ultra-wide primes are available, I like the flexibility of a zoom for composition and ease of use.

The same goes for aperture values, with f/2.8 lenses being unnecessary. I typically shoot stopped down and I’m often on a tripod anyway, so using a slower lens is no problem. An f/4 ultra-wide is going to be significantly smaller, lighter, and less expensive than a comparable f/2.8 lens. As a bonus, those savings can be redirected into other aspects of the gear, like lighting equipment.
Mid-Range Zoom
Beyond an ultra-wide, I’d suggest having a mid-range zoom as well. Occasionally, your client will want a detail shot, and this lens can come in handy. A mid-range lens can also be a great choice for shooting exterior shots, assuming you have the space to back up. There’s even less need for a specific lens in this range – as long as it covers the midrange and is reasonably sharp, it should work fine.
Ultra-wide
Going beyond about 16mm, you’re entering into the range of ultra-wide lenses. These are definitely going to be for more niche uses. With very wide focal lengths, the feeling of the room will be thrown off, and the sense of scale being unrealistically distorted.
My 11mm sees only limited use, typically for trying to squeeze a shot in for small bathrooms. These shots are never artistic accomplishments, but for most clients, it’s just important to have them documented. While you could do so with the wide end of your zoom, having some extra breathing room from an ultra-wide is useful.
With those considerations in mind, I’m a big fan of the Venus Optics 12mm f/2.8. It’s easy to recommend, as it’s available in almost every major mount, has low distortion levels, and is an affordable way to get to 12mm. If you’re using a mirrorless camera, Venus Optics also makes some even wider options, like the 9mm f/5.6.
Lighting
Depending on your style of real estate photography, lighting equipment may be entirely superfluous, or absolutely essential. Whatever your style, I’d suggest bringing at least one light, as some rooms may be so poorly lit that an additional light is required. Even if you’re not a big fan of flash lighting, a simple bounce flash can be a great way to add light into the scene naturally.
If you’re looking to get deeper into flash photography, adding some additional flash units can open up a number of possibilities, particularly for lighting things like bedrooms, open floor plans, hallways, and even outdoor areas.
“Flambient” photography, which blends flash and ambient exposures in post, requires a bit less lighting gear. I think you could get away with a basic flambient shoot using just one off-camera flash unit.
For all these purposes, my favorite option is the Godox AD200. While offering significantly more power than a basic on-camera speed light, the AD200 is still very compact and portable. In addition, the interchangeable flash heads allow for switching to a bare bulb, round head, or speed light style head. The AD200 also supports mounting a number of modifiers right onto the light, making it easy to dial in the characteristics.
The Godox system also offers a great wireless triggering solution, letting you set flash power right from the camera, control multiple zones, and adjust other parameters with ease. Additionally, the trigger offers enough range for use in even the biggest homes, while still remaining affordable.
Tripod
For use in real estate shoots, a wide range of tripods are usable – almost any legs will work. The key thing to keep in mind is the options for feet. You’ll want tripod feet that are safe to use on floors, so avoid claws, spikes, and marring rubber. I’ve been really happy with my Gitzo tripod, although there are a number of more affordable options. For a better value, check out Benro, Robus, or Manfrotto legs.

Both carbon fiber and aluminum legs are usable, as are any style of leg locks. For flambient and HDR photography, however, you’ll want to make sure your legs are stable enough. Movement between shots because of wobbly legs will cause problems when stacking images. To that end, avoid the thinnest travel tripods and those with many legs sections.
One last consideration is the height of the tripod. The center column is the least stable part of the tripod, and so having a set of legs that can reach a reasonable chest-height without extending the column is better.
Tripod Head
For basic photography, a ball-head will work fine. I use a RRS BH-55, although depending on the weight of your gear, you can probably use a smaller head. Alternate styles of head are also usable, with a geared head being the “gold standard” for real estate photography. They offer added precision over a ball-head, at the cost of speed of operation. Depending on how precise you want to be, either can be a good option.
On any size and style of head, I prefer an Arca-Swiss compatible mounting plate, as most camera L-Plates are Arca-Swiss style, and it’s just easier to standardize on one type of plate.
Remote Trigger
While a standalone trigger used to be an essential piece of gear for shake-free photos, I find that I don’t even pack mine anymore. My camera supports a mobile app that allows triggering, and even if your camera doesn’t, it probably supports some amount of mirror-up delay or exposure delay mode.
By delaying the actual exposure after the shutter is pressed, any residual vibration can calm down, and give you sharper photos.
Drone
While my standalone trigger has lost its place in my bag, my Mavic 3 has become an essential piece of gear. Drone photography is very popular for listings in my area, and the Mavic 3 delivers great image quality in a compact package. For more on this topic, check out our complete guide to drone photography here.
If you’re looking for a cheaper drone option, I’ve also really enjoyed flying the Mavic Air 2, as well as the Mini 3 Pro. I’ve covered the Mini 3 Pro in a first-look article here, but to put it simply, the images are very high quality, and the drone offers all the same great automated flight features that help create compelling videos.
Drone photography doesn’t require many additional accessories, although a landing pad may be helpful for taking off at rural properties without kicking up too much dust.
Drone License
One essential element, however, is to ensure you’re complying with all drone rules and regulations in your area. For instance, in the US, it’s essential to have your Part 107 license, certifying you for commercial flight ops.
If you choose to pay for an official test prep company, the one we’re affiliated with and recommend is called Pilot Institute. Their service is $249, or $149 through Photography Life’s discount (found here). They aren’t the only test prep company out there, but the combination of their well-respected course and the deal they gave our readers makes them the service I’d choose for studying for your Part 107.
Accessories
Gray Card
Real estate photography can present difficult white balance situations. Whether it’s a mix of flash, daylight, and ambient, or just homeowners who decided to replace each bulb with a different color temperature, having a gray card can go a long way to solving WB issues.

A gray card is just that, a card coated in a particular shade of gray that is neutral, and serves as a good target for setting white balance. They’re a cheap accessory, perfect for tossing into your bag and having as a backup.
Light Stands
Getting an extra light stand or two can be a great alternative to just setting your flashes down when shooting flambient exposures. I’ve been able to use a lightstand to better light stairwells, recesses, and to get a light up high when light painting exterior exposures.
While these don’t always come out of the car, if you’re using small lights you can get away with small and cheap stands. Throwing them in the trunk is a great back-up plan, just like the gray card.
Software
Photoshop and Lightroom
Like many photographers, Adobe’s Photography Plan is my go-to. For real estate, I process all my photos through Lightroom, with some going into Photoshop as necessary for more advanced edits (think sky replacements, compositing out Realtor’s signs, etc).
For volume importing, editing, and delivery, nothing is faster than Lightroom. That doesn’t mean it is perfect, however. You’ll run into slowdowns on import and preview generation, even on a fast computer, for instance.
Overall, Photoshop and Lightroom at the Photography Plan pricing is a very small cost of doing business.
Da Vinci Resolve
For real estate videos, I love using Da Vinci Resolve. Resolve’s free version is ridiculously full featured, while Studio is a great value as it’s a one time payment. Resolve supports detailed workflows for color grading and more, but is also very easy to pick up if you just want to cut together clips and export a .mp4.

Before buying Studio, give the free version a try. Noise reduction, lens corrections, and GPU acceleration are all real-estate-relevant features locked behind Studio, but again, you can easily edit and deliver without these.
Aloft
If you’re planning on flying a drone at your location, Aloft is an essential app. Aloft allows you to check for airspace issues, request LAANC authorization for available airports, and more.
The interface is a bit cluttered for just LAANC clearance, as the app offers a range of other features, but it’s a quick way to confirm airspace status when a client asks. LAANC approvals also come through quickly, with clear explanations of the status.
Conclusion
That does it for the gear I use and recommend for real estate photography. Although it’s possible to use a slimmer kit than this, it may take you much more post-processing time or lead to poorer results if you do. I hope this gave you a good sense of the equipment you’ll need as a real estate photographer, and let us know in the comments below if you have anything to add to the list!
Thank you for this great article! I am looking at developing this as a career in my future after I retire from the Canadian Armed Forces.
I own a Canon EOS 90D SLR. Not sure if this camera will do the job. However, I currently use a Nikon Z6 in my day job. The size of the camera body and resolution of images from this camera is very good.
As it is I maybe updating my camera, lenses, tripod, and lighting equipment. I also have a Maverick mini. Which maybe adequate to get started.
Thanks again
Hows about another article entitled “The Gear That I Started My Real Estate Photography Business With” ?
Since I started shooting digital in 2001 I have photographed over 4000 model homes for a building-industry website, 1900 of those since 2014. We published 350-450+ images each month. Since the images were be used only for the web site, I was able to shoot with a Nikon D7100 (now D7200) mounted with a Nikon 12-24mm zoom, and in jpeg format. Each final image was processed in Photoshop, averaging about 4-5 minutes per image. The first step was always to crop using the “Perspective Crop” tool. It takes only a few seconds to adjust the verticals to vertical. Since I am able to correct perspective distortion in post-processing, I can use a wide-angle zoom to shoot. This enables me to crop and adjust perspective on the space I’m shooting without being tied to a tripod. As for lighting, a diffused on-camera bounce flash to subtly fill existing light was sufficient. My portfolio can be viewed at johnbarephotography.com.
Enjoyed your photos in your website John. Beautiful photos!
Very nice. For those kinds of houses, you might look into blending in appropriately exposed exteriors for the window shots. More work but those homes deserve it.
Looks like many thousands of dollars to get started.
Nice overview, but I highly recommend you start using a PC lens to avoid the vertical perspective distortion. Having designed many commercial buildings during my career, perspective control is extremely important in the architectural design industry. Some vertical vanishing is OK on very tall buildings, something the PC lens can more easily control without having to rely on Lightroom.You can get by with the 14-30, but you will end up cropping a good portion of your image. Nikon’s 24mm 3.5 PC would work great with your Z7. You might also consider a geared head instead of the BH-55, a wonderful head for landscape without sharp geometries, but more difficult to align with architecture. The Sunwayfoto GH Pro II is a fabulous head a a moderate price and will allow one to be more precise with framing images. Cheers!
Agree on the PC-E lenses and a geared head. I use the Sunwayfoto GH Pro II for my architectural and landscape photography.
Great write up. For ultra wide I have been using a 16mm 2.8 Nikon AF D semi fisheye for years. At 5.6 / 8.0 this lens becomes very sharp. Adobe LR/ Bridge automatically “ defishes “ the file and you end up with about a 10 mm rectilinear projection, which of course you can crop a little. I have found the lens useful for capturing vaulted entrances with staircases and the proverbial telephone booth sizes lavatory. Also, I don’t think you mentioned tilt shift lenses. Plug ins like Nik Perspective have partially negated the need for these very expensive lenses. The resulting resolution loss is unnoticed at typical online delivery, as well as typical printed handouts. It’s just no longer an issue. So in fact you do not need to shoot “leveled” into a space. Shooting up or down to capture more floor or ceiling and correcting for verticals in post works well. You just need to shoot a little wider. That’s the real reason to carry 12-14mm ultra wide.
Thanks, Fred. Your answer addresses some of my own question (below) regarding a shift (or tilt-shift) lens. I have personally been doing what you’ve mentioned: shoot wider due to unavoidable cropping in software when I know I will subsequently correct keystoning (I’ve been using DxO’s ViewPoint to do so). Main takeaway for me from your post: I need to stop pixel-peeping the corners after keystone correction (which has been difficult for this OCD person to do) since, as you have mentioned, the delivery format for typical real estate work makes that a non-issue. In re: to your usage of the semi-fisheye, I have been using my Nikkor Z 14-24 for interiors, yet even 14mm is sometimes too long for very cramped rooms (like the “telephone booth” sized lavatories you mentioned!), so your point is well made and I will consider trying out a fisheye if I can “rectilinearize” the outcome satisfactorily. Thanks again.
Thanks! I didn’t mention T/S lenses as I think they’re overkill for typical real estate photography. If you’re shooting the average MLS listing, software correction is fine.
Having CDO (it’s exactly like OCD, but the letters are in alphabetic order … as they should be! 😁) I hate being told something is “fine”. PC-E (or T/S lenses) are the way to go.
I love my 8-15mm fisheye, but have never liked defished photos. I agree with shooting wider and correcting the perspective in post if you can’t justify a PC-E lens.
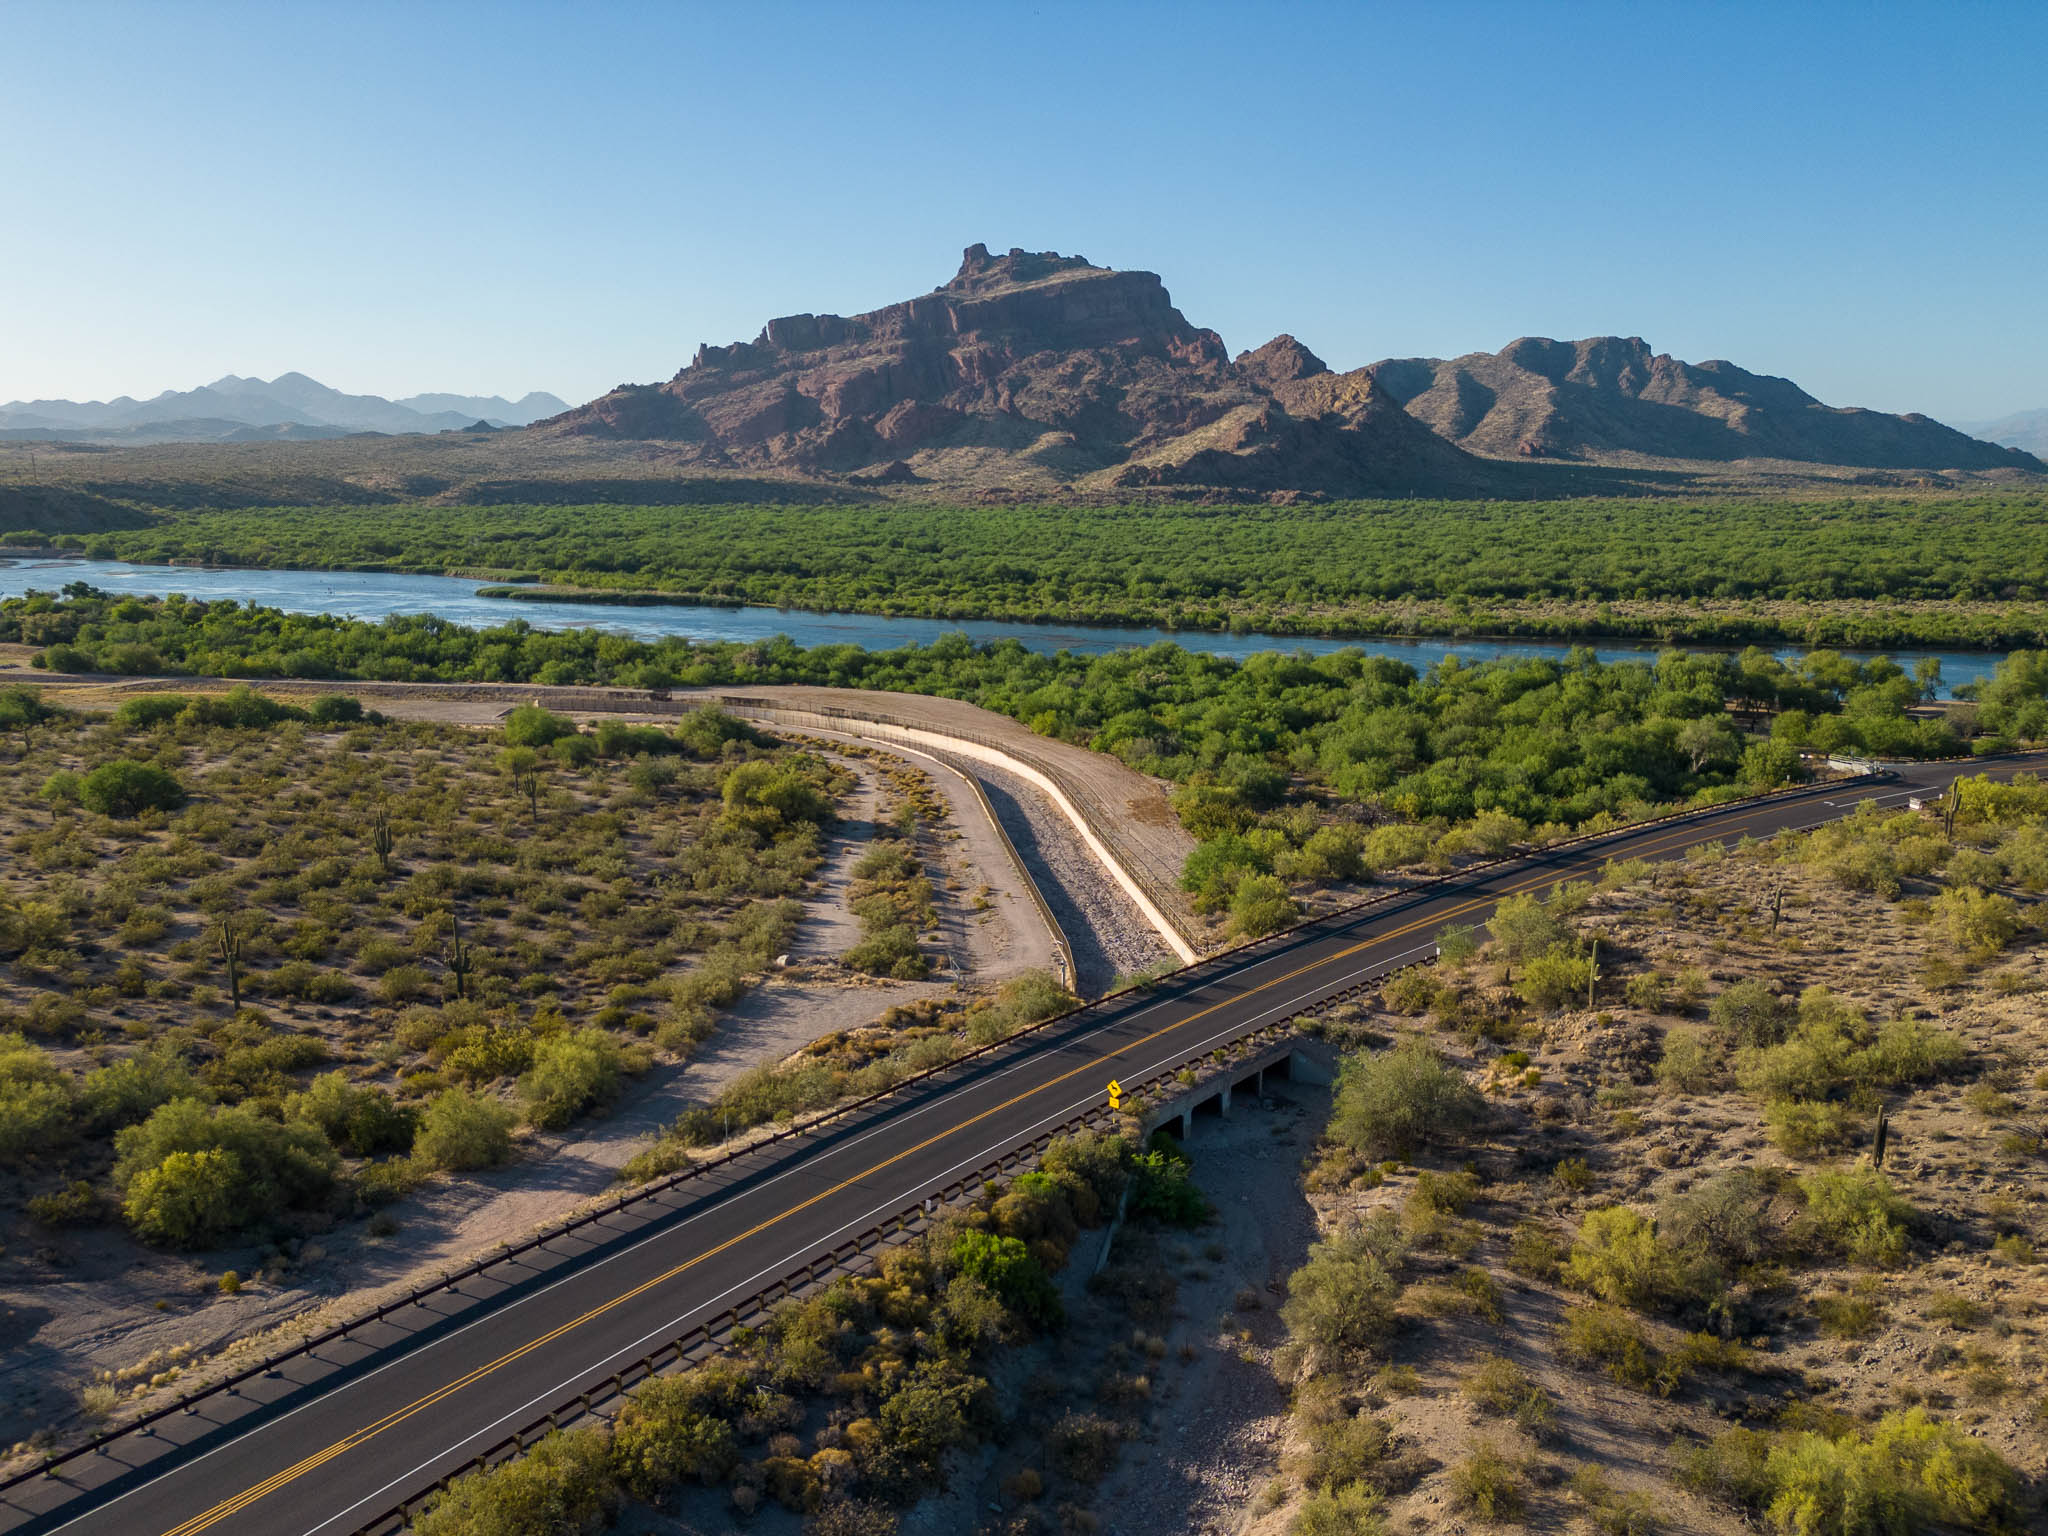
Nice drone shot. Recognized Red Mountain near Granite Reef Rec Area. I recently did a similar shot at the river shore. I had to look to see if you were from the Phoenix area. Great article and great series of shots.
Thanks!
Anytime a pro has advice and tips for me I appreciate it. Thank you, Alex.
Great article Alex and great additional comments from others! Thanks!
apart from photography;
get an insurance that covers damage while doing your job…